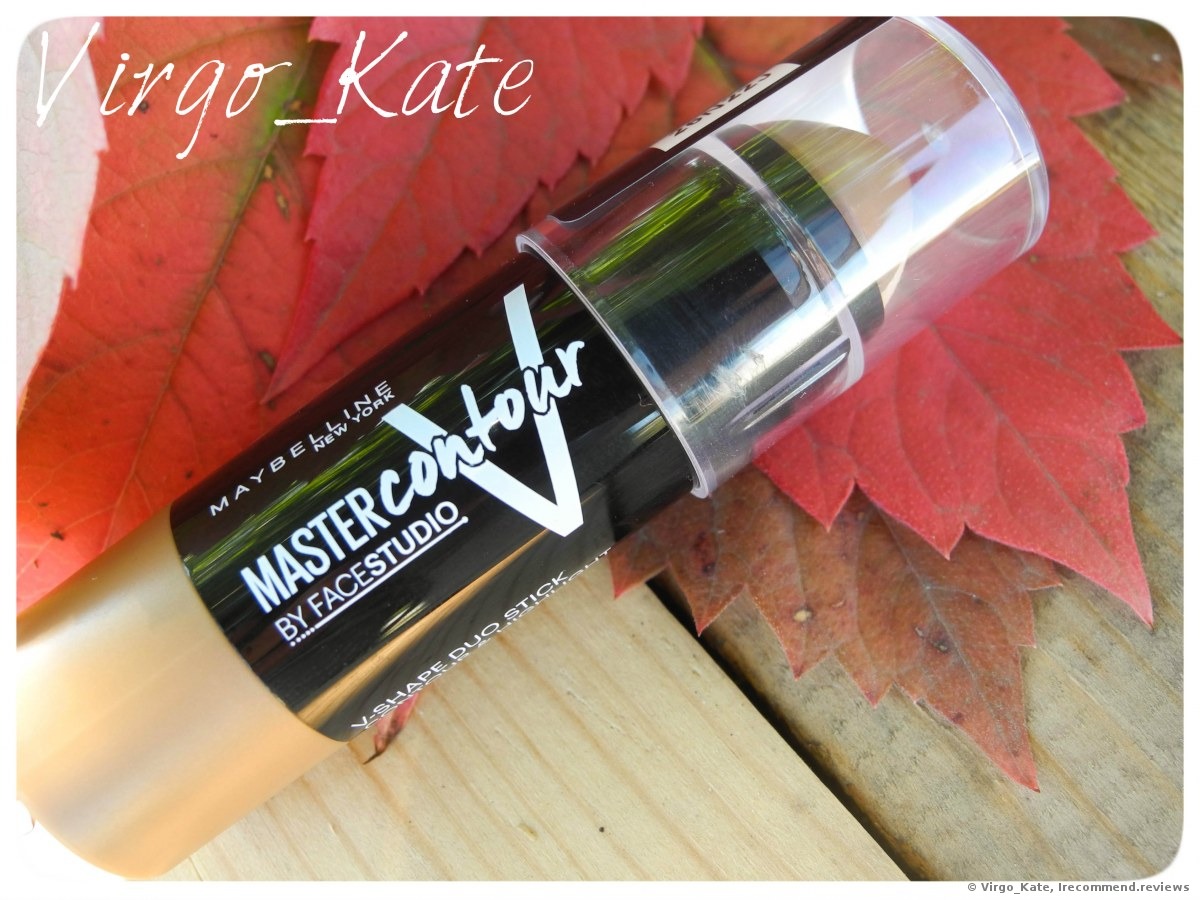
Master Contour V-Shape Contouring Duo.
I know about two colors of this product: 01 Light and 02 Medium.
And I heard that since the 02 color tends to look a little bit red on the skin, they all prefer the 01 color more that’s why it’s becoming more and more popular. Let’s speak about this very product in 01 color.
Outer appearance
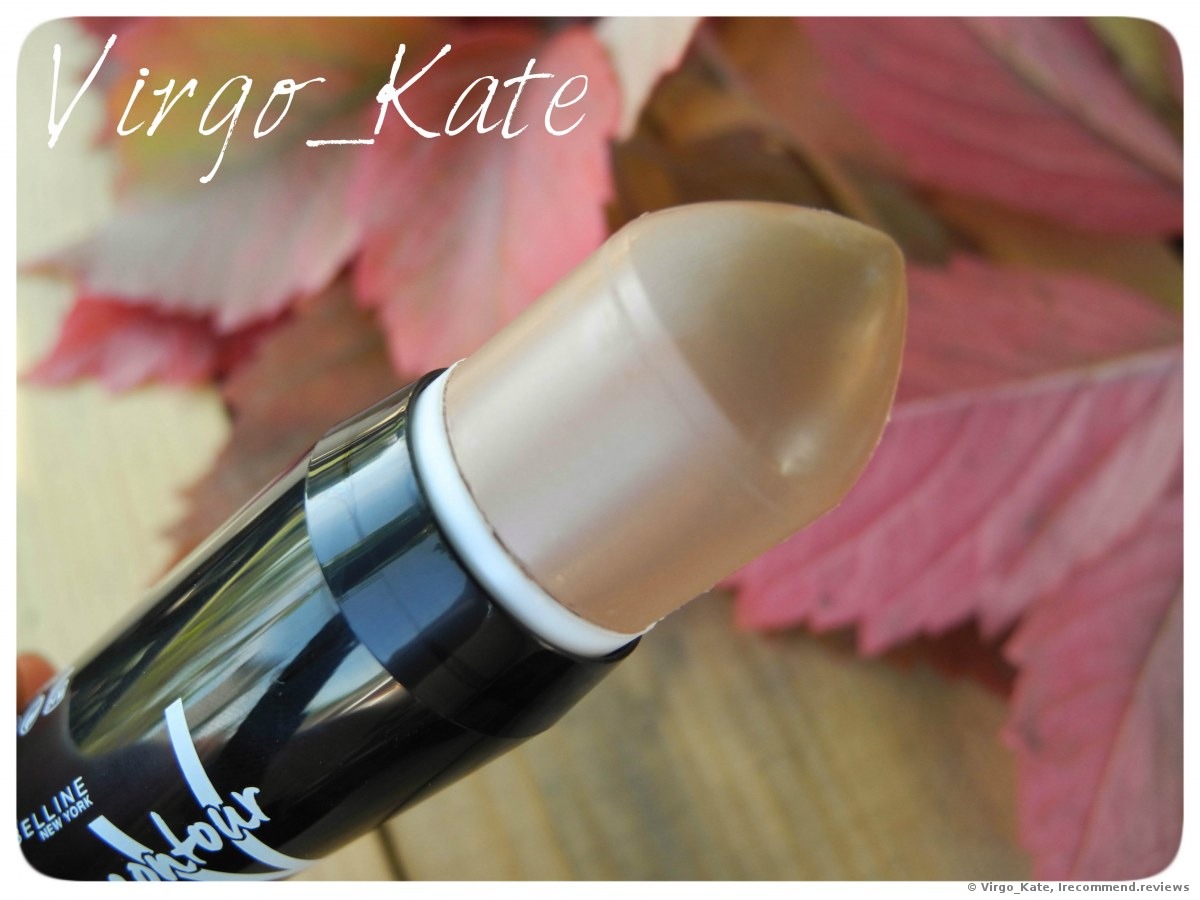
The stick is packed into a black plastic package with a clear top cap.
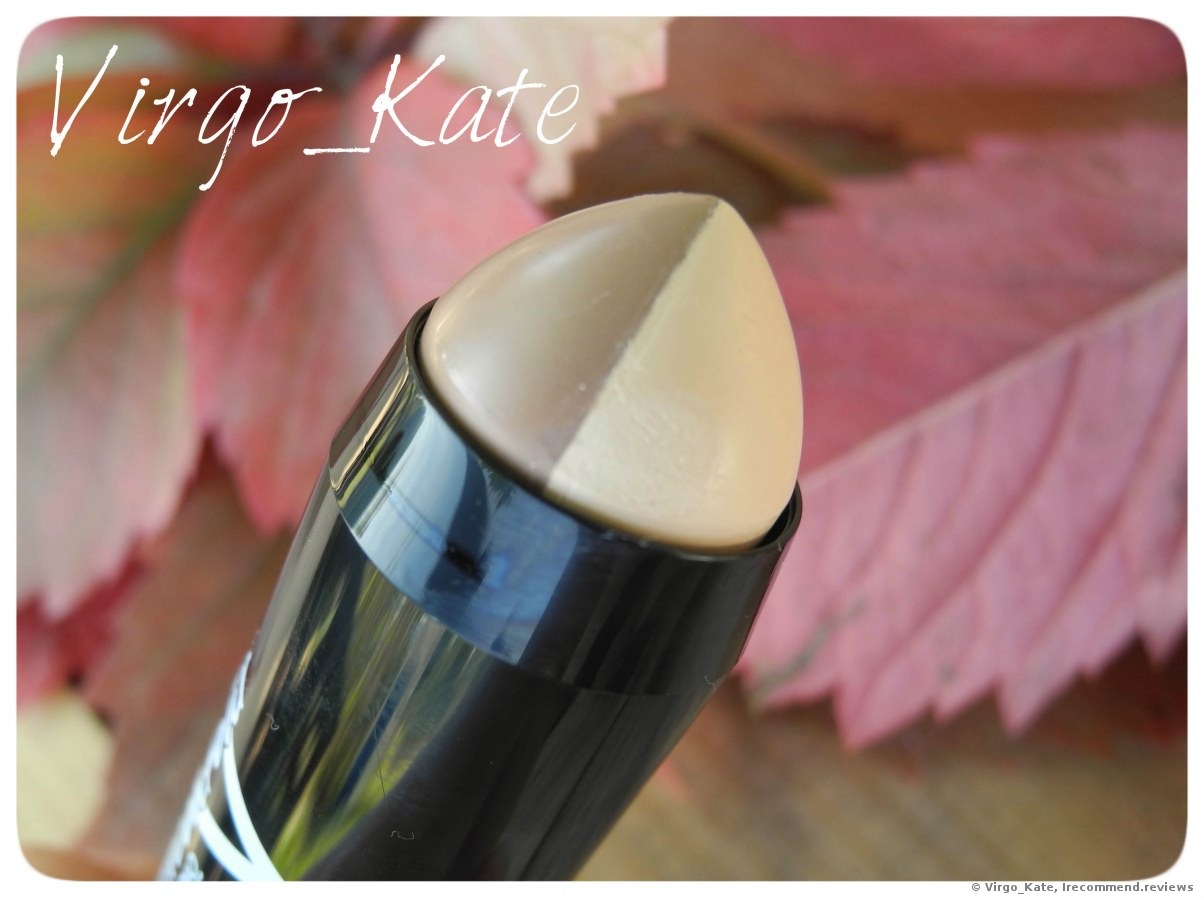
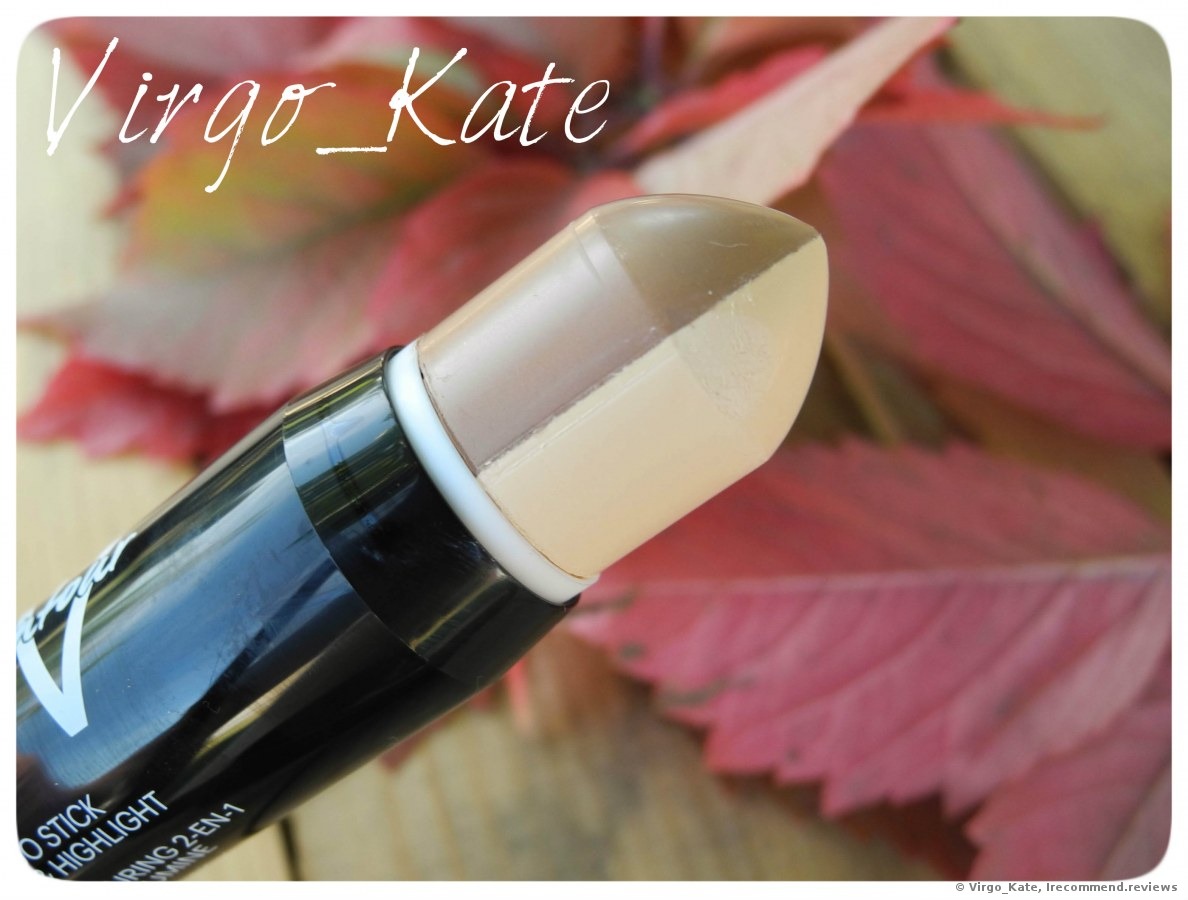
It has a highlight product on one side and contour product on the other.
As for me, this is the main disadvantage about this stick. The thing is that both of the products go different ways and their spending is also different. For example I want to get a dark line, draw it with the dark side and in the end get the light color over it and visa versa.
The product isn’t big, about 7g. (0.24 oz)
Texture
It’s soft and melting once I touch it with my skin. In one of the reviews I read, a girl compared it with a buttery texture which is so right when it comes to the consistency description. The application is easy, though if you have oily skin, be sure to set the product with powder or it’ll fade too quickly.
Color
Highlighter. In the stick it looks light beige, even with a wheat-color undertone yet on my skin it looks as a cool-toned milky color.
Contour. It’s unbelievably brown color with cool undertones and a tad of a lilac-grey shade. No red pigment. This very color played the main role in purchasing it.
Once I saw the first swatches on the internet, I immediately headed for the store to test it.
And now I’m completely delighted with my contour shade.
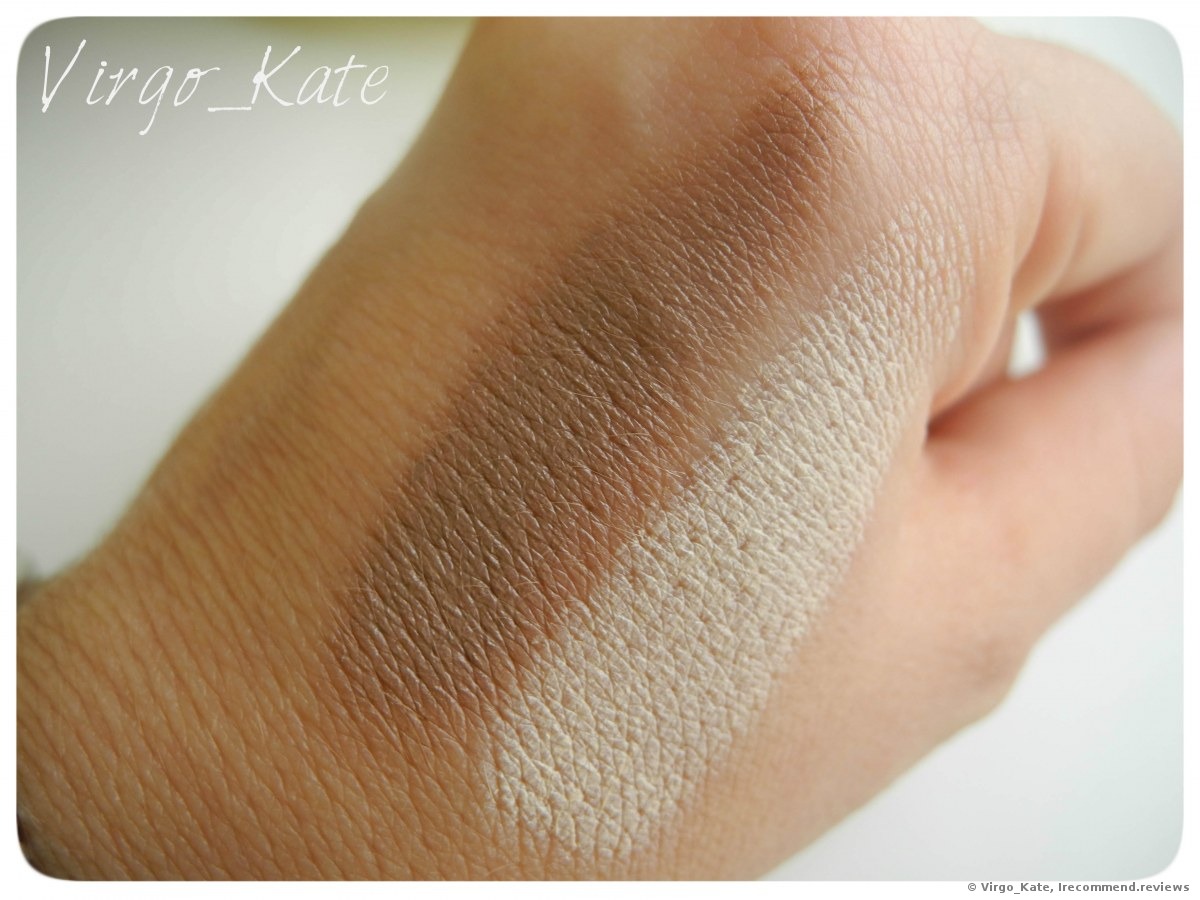
Swatches
I don’t know if the camera translates all the true shades and undertones of this product, but I guess it doesn’t.
Application
Now I’ll try to show you the maximum of how I use this stick. I want to say right of the bat that I’m not a guru of makeup and I’ll show you my ways of application.
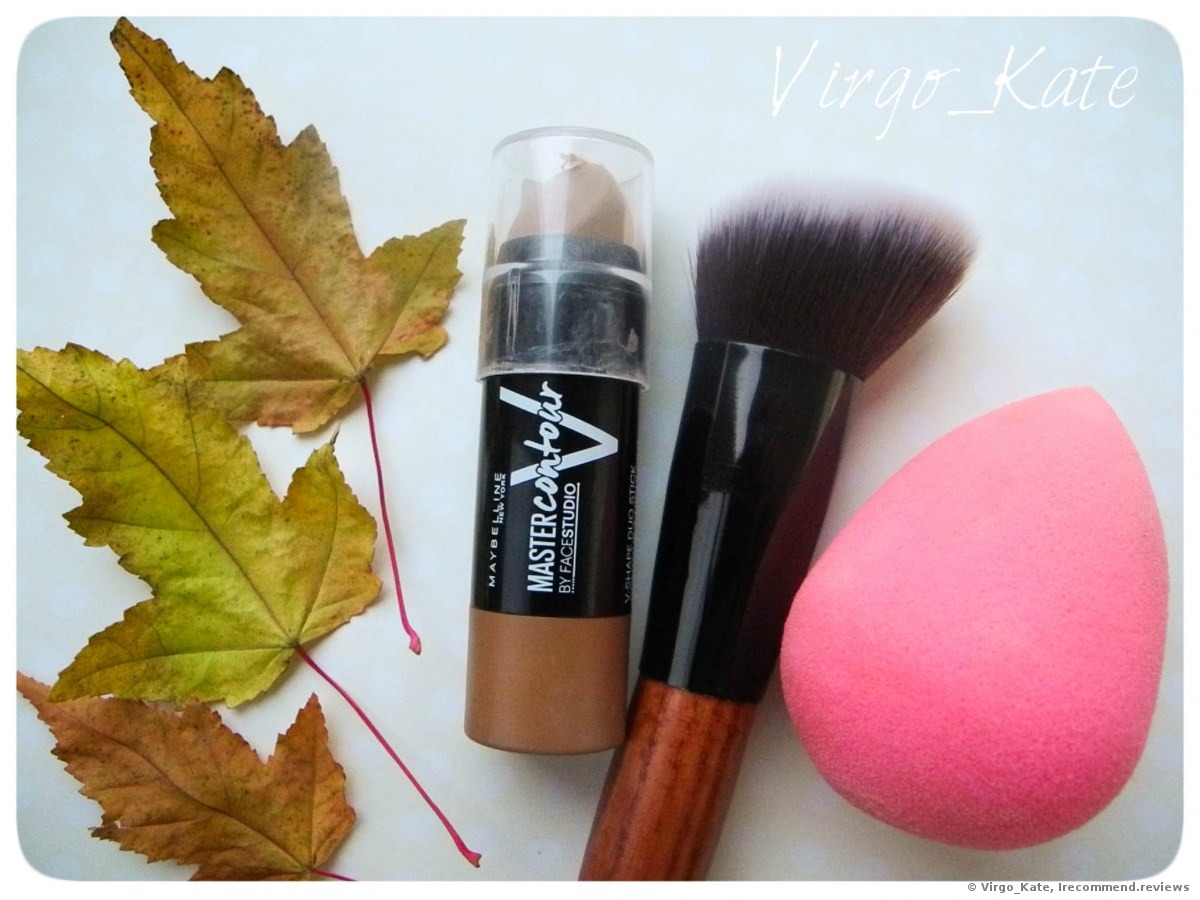
The products I use to contour my face
1. The Master Contour stick
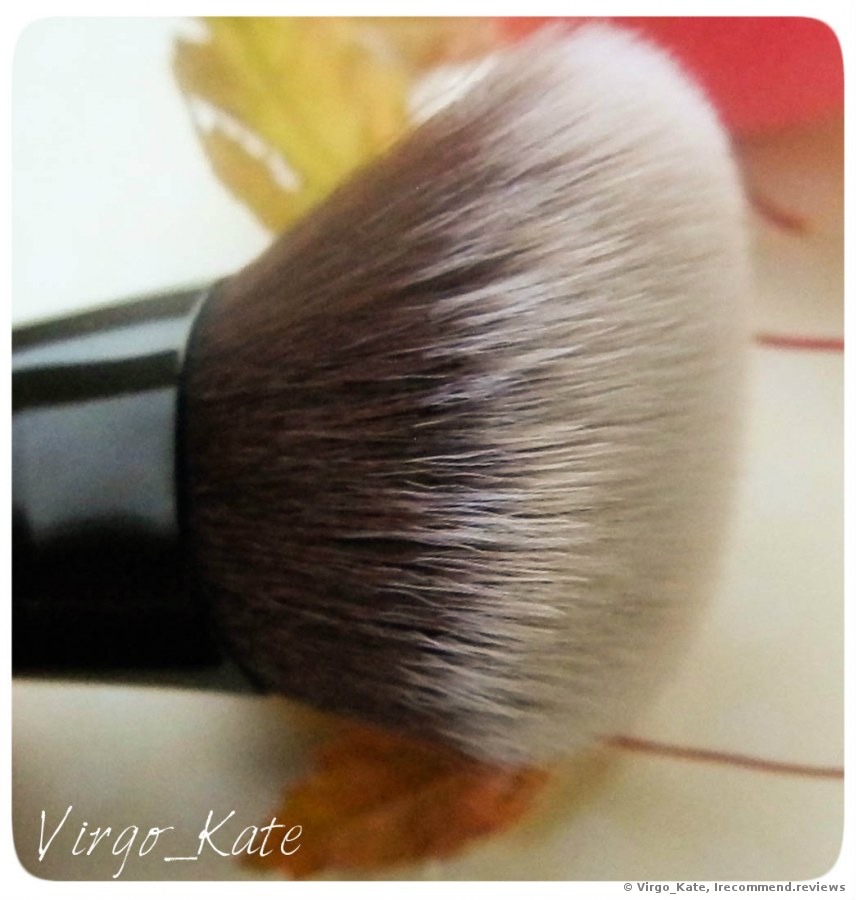
2. A brush to work with creamy textures. Currently I use the #72 by Just. This affordable brush is so great for blending out contour products.
3. BeautyBlender. It works wonders blending out the highlighter.
So, let’s get started.
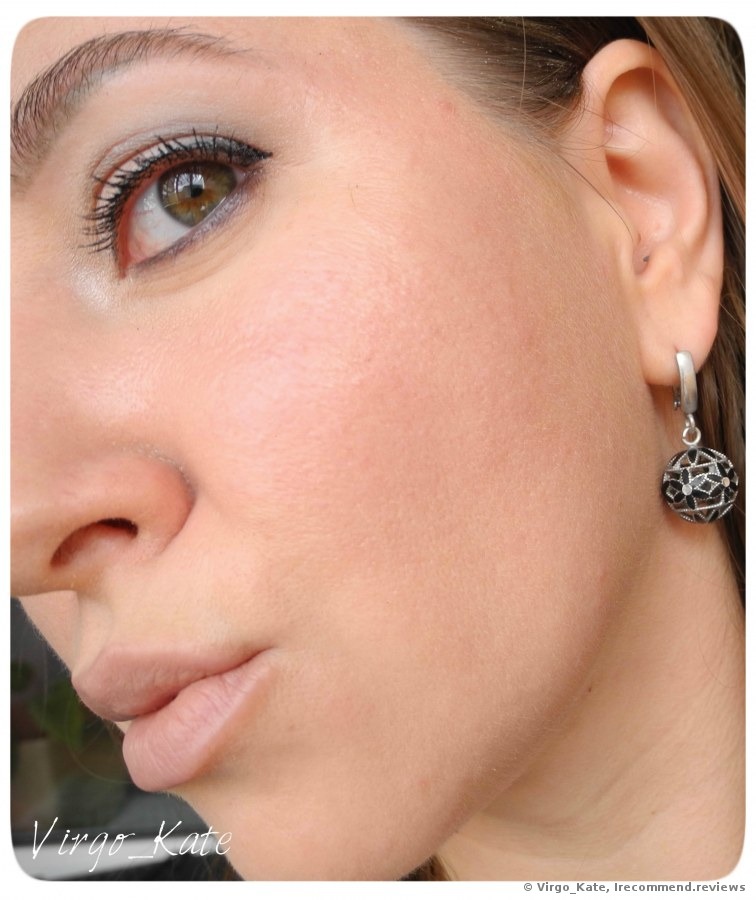
Highlighter - cheekbones, bridge of the nose, Cupid’s bow
Contouring - sides of the nose, temples and under my cheekbones (it’ll be great to find a “hollow” in your cheekbones and apply the product right there)
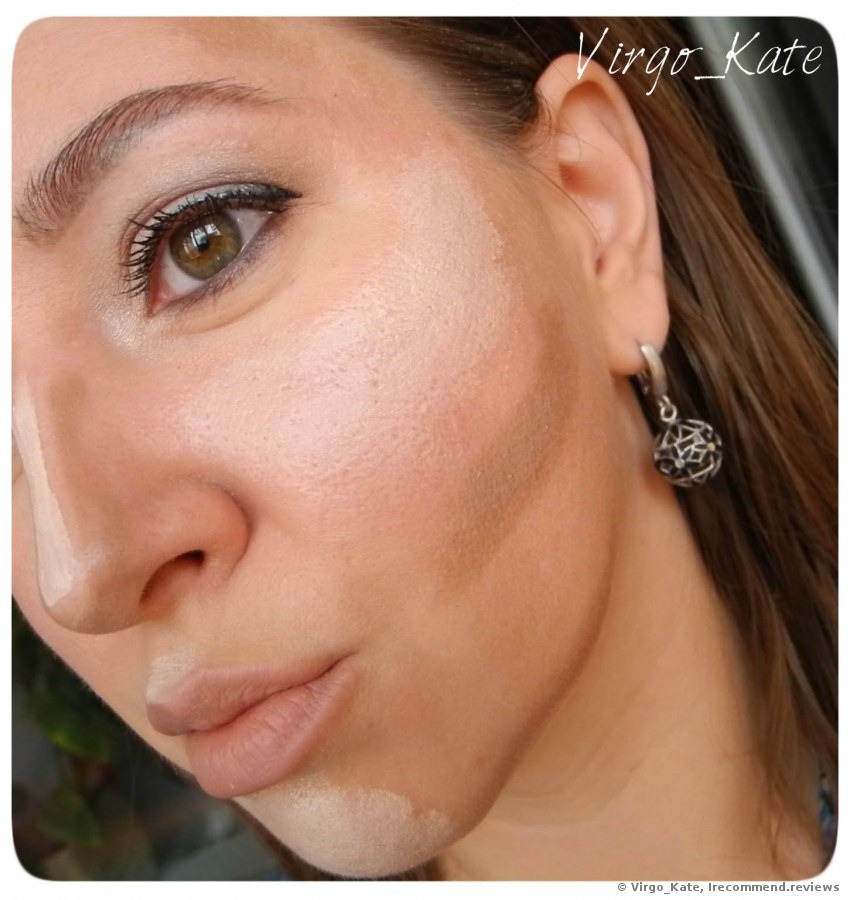
Each time doing this contouring I look so funny.
After the blending my highlighter looks the following way:
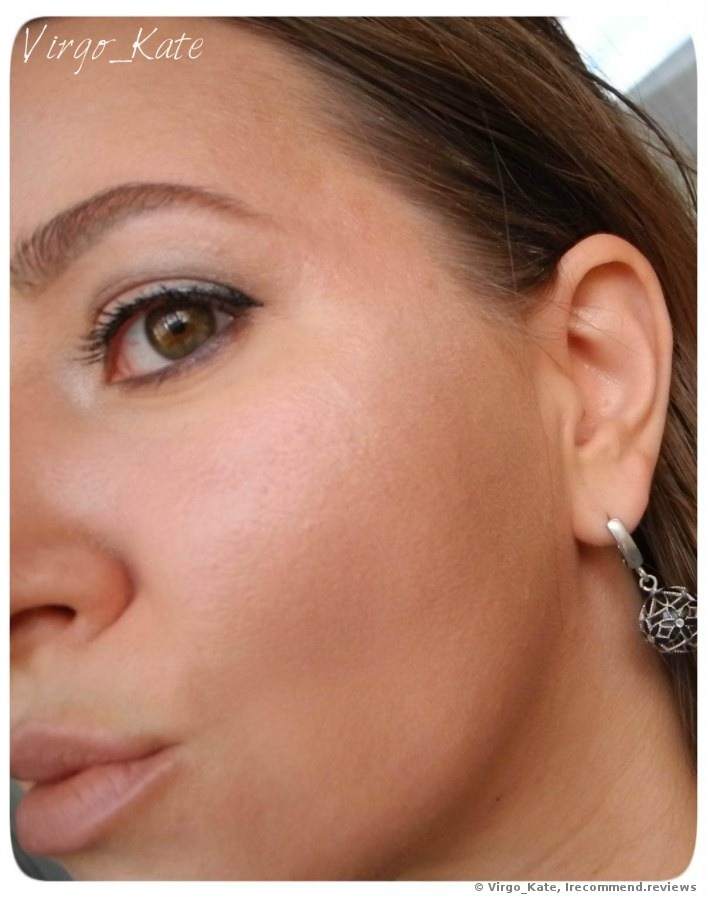
As for the contour blending I do it with the brush and strictly upwards and then use round motions.
And this is what I get in the end:
So, the classical “before” “during” and “after” shots
So, that’s all I wanted to tell you about. 
Price: $11 but you can find it discounted.
Made in Canada
Thanks for your attention!